
This year, we are going to try a new approach to starting seeds, hopefully, with more success.
Prior Years
We have used hex cell starter trays but found they get to be too small too soon.

We have also planted seeds in a few spots per pot in larger pots. However, we found it more difficult to have a place for them to be put in the sun but out of the way of mischievous house pets.
Trying Something New
This year, we decided to give soil blocks a try. There are graduated systems for soil blocks that with additional seed pins, allows blocks to be easily moved to the next size up starting from a micro 3/4-inch size, which will fit into the indentation of the medium 2-inch size, which fits into the indentation of the large 4-inch size. In addition to less disruption of repotting your starts, many people mention the reduced need to store and organize pots as a benefit.
Since this is our first year giving this soil block thing a try, we decided to just give this middle 2-inch size a try and have some larger pots for those that will need to be repotted before moving outside.
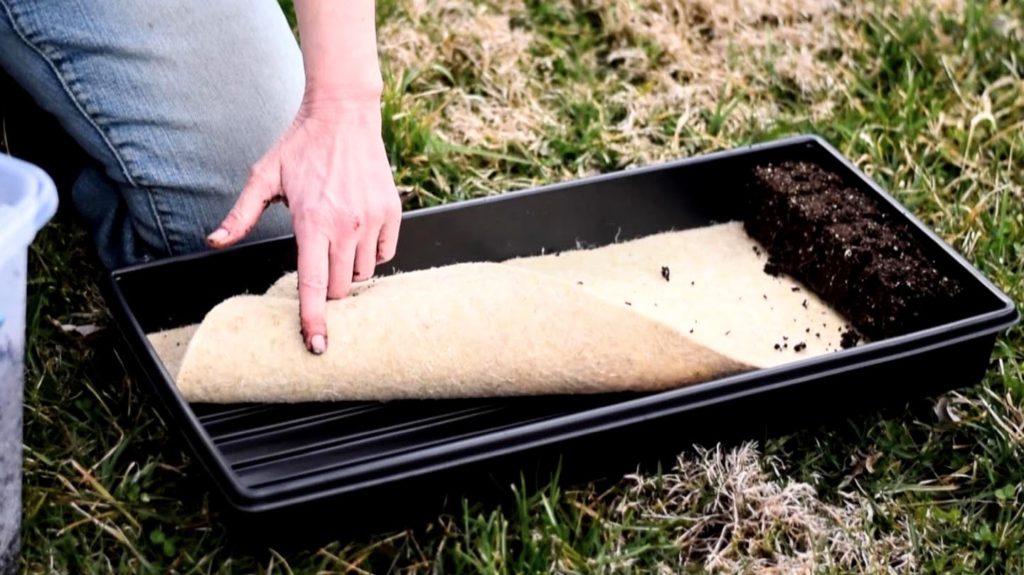
We are placing the soil blocks into 10”x20” trays, lined with a hemp seed mat. The tray is perfect for holding 5×10 rows of 2” soil blocks. This is our first year with the hemp pads also. Because the bottom of the trays is corrugated, the mat helps even out the bottom so the soil blocks won’t settle too unevenly. Additionally, our hope is that because they do hold quite a bit of moisture, the pads will help with holding and distributing the water, keeping the soil blocks moist but not so much so that they fall apart or rot or mold the growing seeds and plants.
Soil Mix Recipe
From Patches of Green, 1 part = 8 quarts:
- 3.5 parts compost (we used a premixed compost & peat mixture and measured about 5.5 parts of that)
- 2 parts each of
- Peat Moss
- Coco Coir
- Vermiculite (mfg recommends perlite, but we decided to use vermiculite)
- 0.5 parts Worm Castings
- 1 cup each of
- Rock phosphate
- Greensand
- Feather Meal (we did not have access to this ingredient at the time we did ours, so we had to skip it)
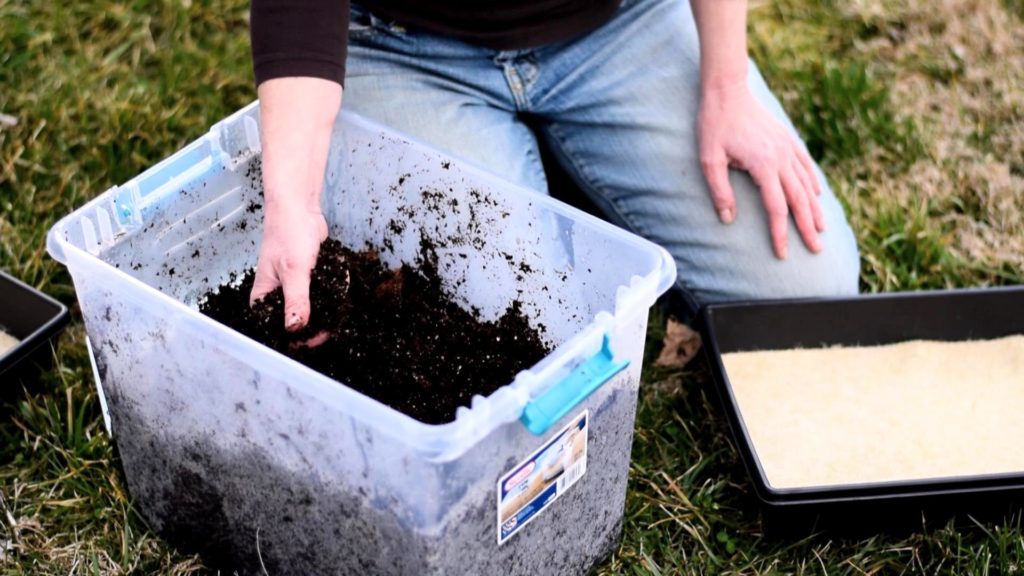
We roughly measured and combined all these dry ingredients into a large lidded bin, which allowed us to mix a large batch of the soil mixture. That way we could make up this mixture just once or twice in the season.
We used a smaller bin to take portions from the larger bin and added water. The smaller bin made reaching the soil and filling the block maker easier and also made it so we didn’t need to wet the entire large bin of soil mixture at once. This smaller bin, even with the water added, is much easier to move, as well!
Making the Soil Blocks
Per the soil block maker instructions, and similar to other seed starting pots, we added enough water so that squeezing a handful of soil caused water to squeeze out between our fingers. We allowed the wet soil to sit and absorb the water for a few hours or so. When ready to make soil blocks, we squeezed a handful of soil again to be sure a little water would come between our fingers, adding water if needed. Having the right water content allows the soil blocks to hold together, not falling apart because they are too dry or too wet and sloppy.
The rest is easy
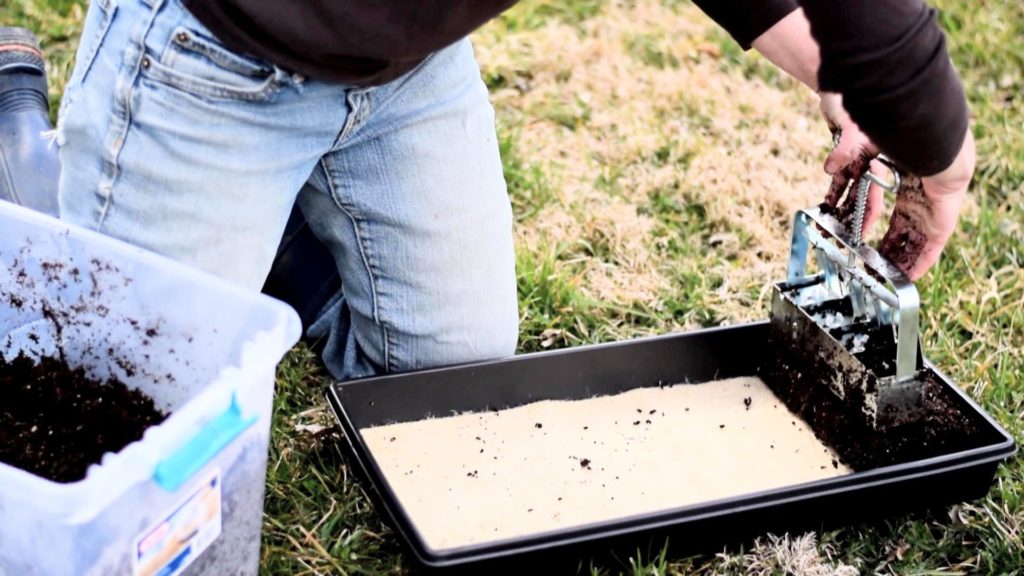
- Fill the soil block maker with moist soil.
- Place the full soil block maker where you want the blocks to be.
- Depress the plunger.
- When you lift the soil block maker, you have 4 sweet little soil blocks, each with an indentation for seeds.
- To increase your chances of having a plant germinate in each block, plant 2 seeds or so per block. Though, if you are short on seeds, have confidence in a great germination rate or don’t want the extra step of thinning, feel free to use one per block.
- Cover seeds to the right depth for the best chance at germination. If for some reason your seeds don’t come with instructions on planting depth, a good general rule of thumb is to plant them 1-2x as deep as the seeds are long.
- When seeds germinate, cut off one of the little plants with scissors, leaving the stronger one to continue growing.
- It’s better to use scissors than to pull a plant out, as pulling can loosen the soil block or accidentally pull up the other plant, leaving you with none in that block.
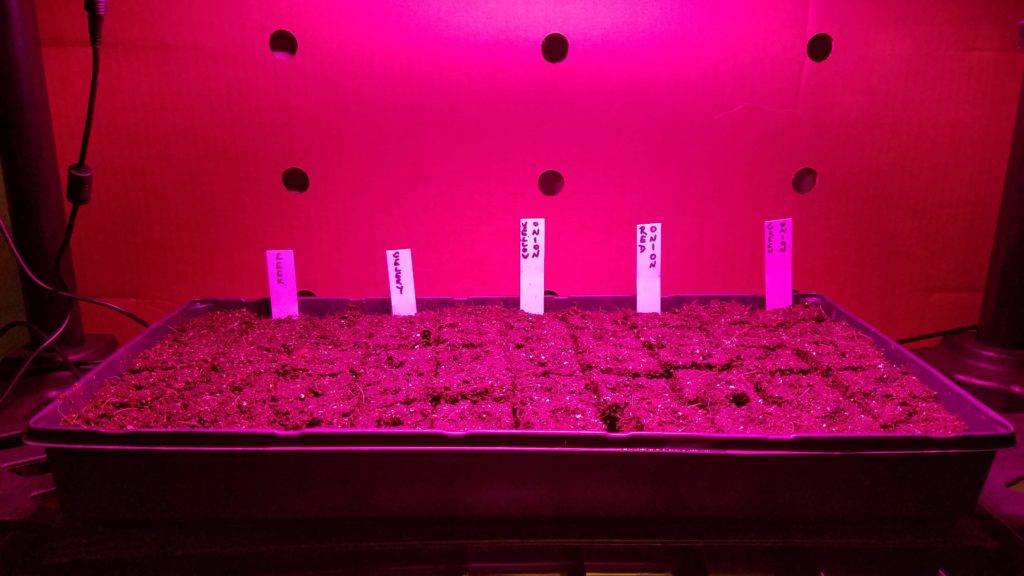
- We placed these trays on shelves with grow lights and seed heat mats. Check out that post!
Starting Indoors vs. Outdoors
Some plants do fine being started outdoors, such as lettuce. We have never started lettuce indoors and have had great success with it. Some do much better being planted directly in the garden, not liking to be disturbed. Some of these include vining plants like melons, root vegetables like carrots and beets, as well as cilantro. But, some plants will do fine being transplanted. And if you have a shorter growing season (time from the last frost in spring to the first frost in fall), and want to have vegetables with longer growing seasons, like tomatoes and peppers, you will have to start those indoors.
The plants we have started indoors this year include the following:
- Cabbage
- Broccoli
- Cauliflower
- Brussels sprouts (our first try with this one)
- Kale (though we have successfully started this outdoors in past years as well)
- Tomatoes
- Peppers
- Ground cherries
- Onions
- Leeks
- Celery (fingers crossed)
- Basil, thyme, rosemary, oregano and a good variety of other herbs and flowers
Exciting, Yet Anxious Time of the Year
Getting ready for the gardening season by starting seeds is very exciting. Starting seeds makes me feel a bit anxious too, hoping my mistakes don’t leave me with nothing to show for the efforts. Gardening is an exercise in hope as well, imagining all the green in the garden, picking and eating the freshest of fresh, nutritious and delicious vegetables.
The time for starting seeds comes well before the weather is warm and often when there is still plenty of other business to take care of indoors. Using this soil block maker was really quite easy. The blocks formed very easily and made starting seeds a breeze. I look forward to seeing how they hold up over the next few weeks as we await the weather and soil to warm up.
Shop for Supplies:
Most of the links above are affiliate links. Spirit’s Freedom Farm is a participant in the Amazon Services LLC Associates Program, an affiliate advertising program that provides a means for us to earn fees by linking to Amazon.com and affiliated sites
Click the picture below to sign up for a FREE Row Markers eBook!

[…] See how it all started several months ago here! […]