
Growing garlic is so easy, even I can do it! I bet you can, too!
Types of garlic
There are two types of garlic, but many varieties.
Hardneck varieties have larger cloves, but fewer per head, develop a flower stalk also called a scape, can be easier to peel, produce better in colder climates, don’t store as long. This type will have cloves that develop around a hard stalk that runs up the middle of the head.
Softneck varieties have more but smaller cloves per head, don’t develop a scape, can store longer
Planting garlic
Choose heads with large cloves for planting. If you don’t have garlic you harvested last year to plant, you can probably find great varieties that do well in your locale at the farmers market. Also, garlic found at the store is likely to be treated with a growth inhibitor to prevent it from sprouting, whereas those from the farmers market are less likely to be. Ask the farmer! They will probably be happy to give you some tips on growing as well.
Plant individual cloves about 4-6″ apart, root side down, with rows about a foot apart. A thick layer of mulch over your garlic bed will help keep a consistent moisture level and provide some protection during winter. We especially like straw for this.
When to harvest garlic
Garlic planted in the fall will be ready for harvest in the early summer. We live in zone 5b/6a, and June is when we harvest the garlic we planted in October/November. It allows the garlic the time in the cold that it needs and time to develop. If you live somewhere much warmer, you might want to try putting your refrigerator to work and planting when you have a few months of weather that’s not too dry and not too wet.
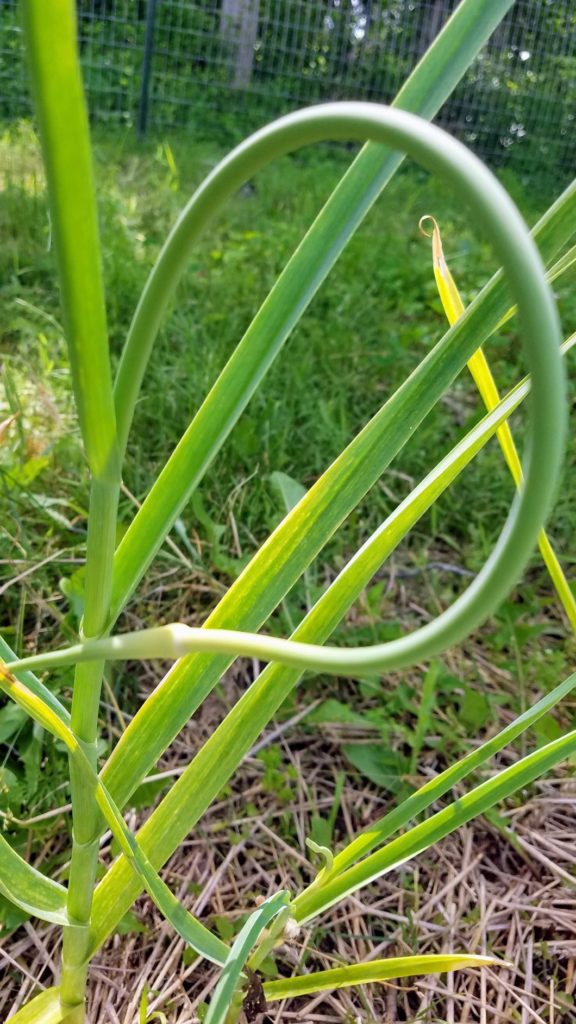
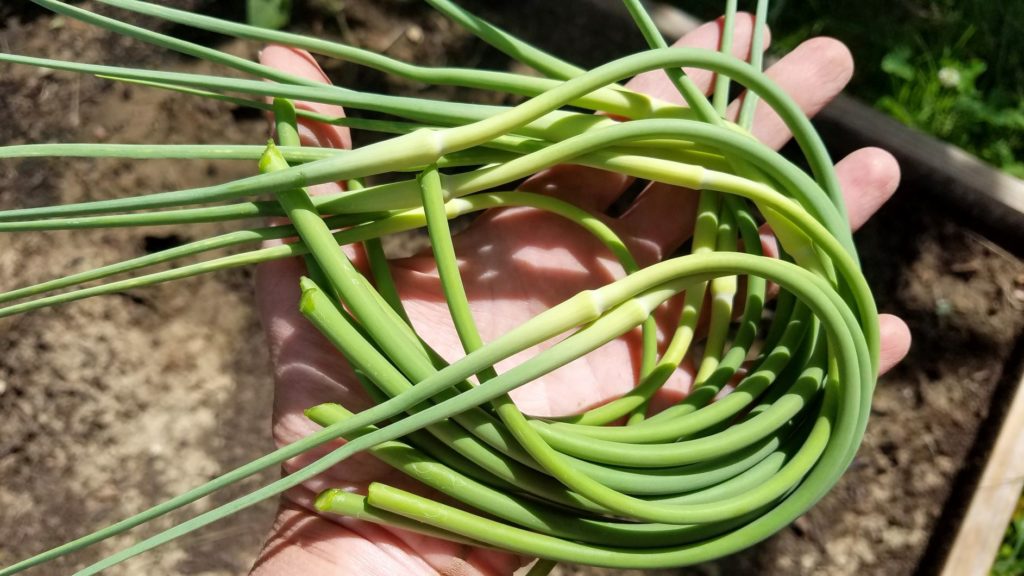
For hardneck varieties, you will want to cut the scape or flower stalk from the plant before it develops too much. If allowed to develop, the flower stalk will make a mini head of garlic as the “flower.” However, removing the scape allows the plant to continue putting its energy into the bulb, developing larger heads and cloves. The scape has a mild garlic flavor and can be used in much the same way as garlic to flavor your dishes, from salad to pesto to stir fry.
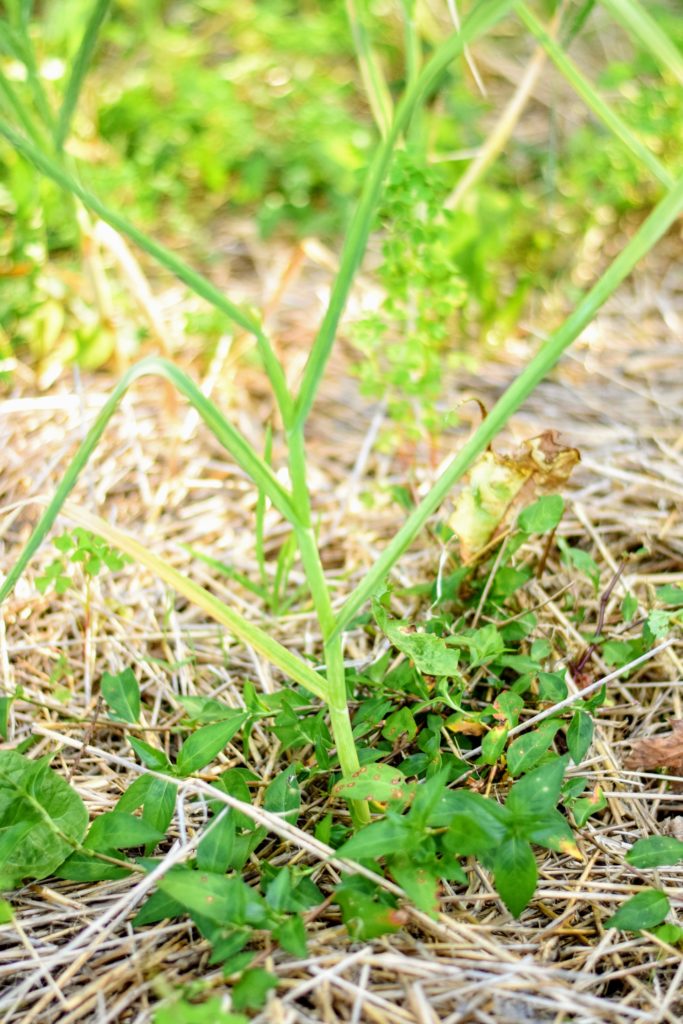
Soon after the scape has emerged, the garlic leaves will begin to turn brown. This is when you harvest!
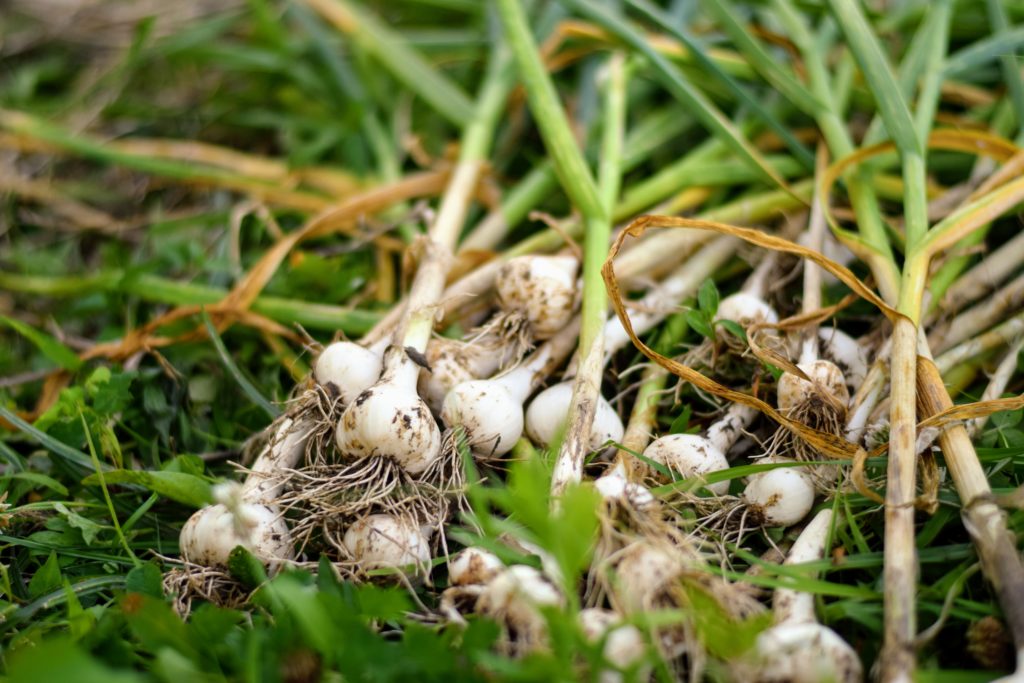
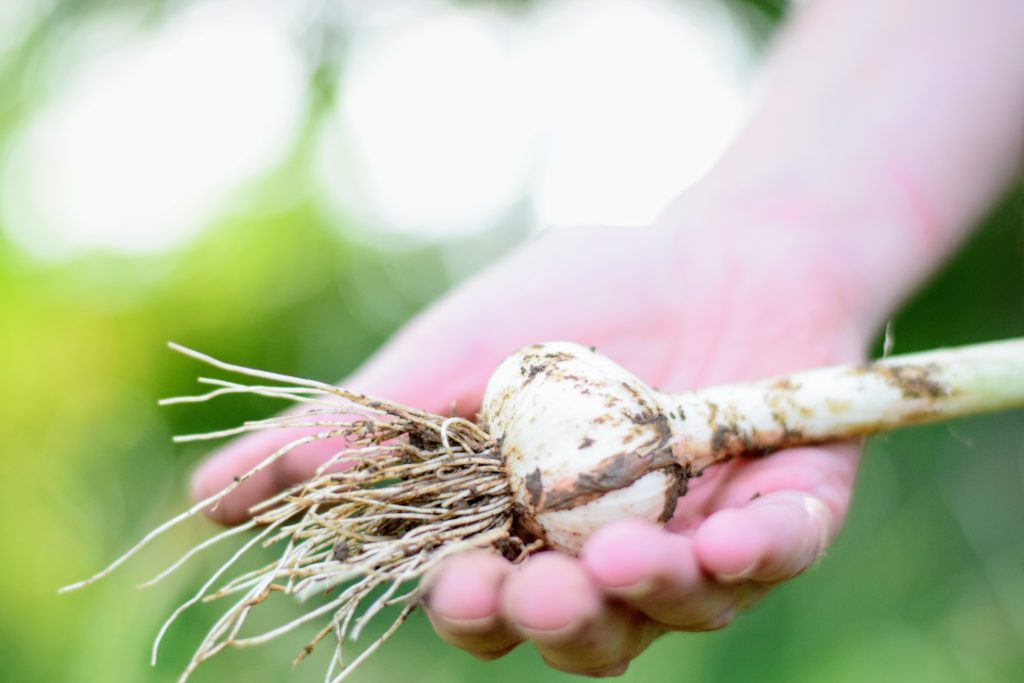
How to harvest
- Pull back your mulch layer. We have found straw especially can get in the way.
- Using a shovel or pitchfork, dig deeply and a few inches from the plant to avoid damaging the bulbs
- Gently remove large clumps of dirt without removing too much of the papery covering
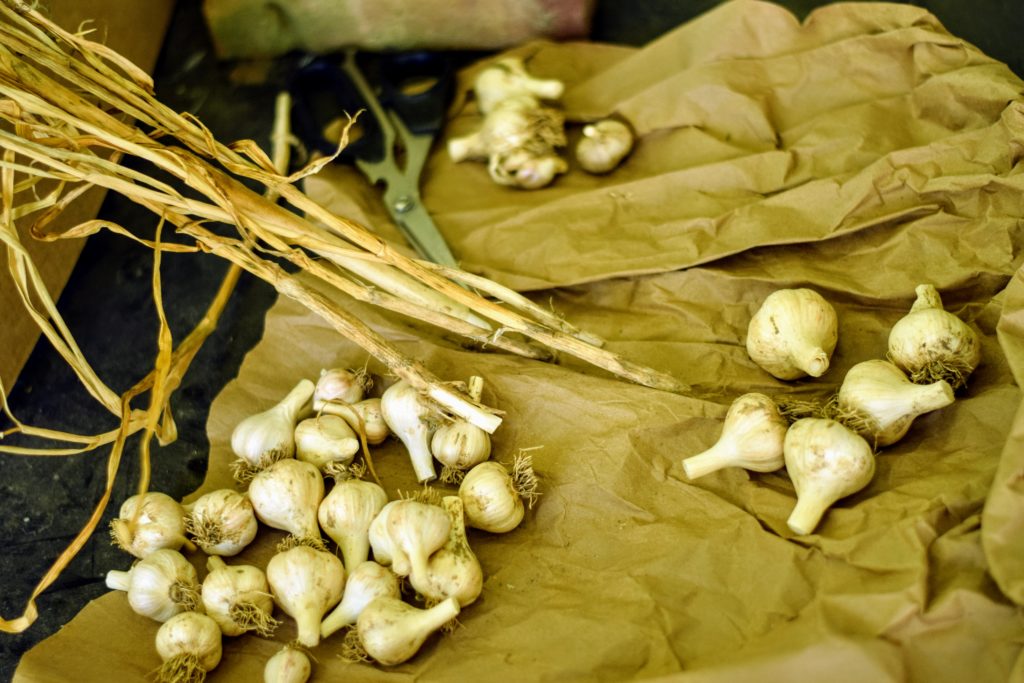
Curing garlic
Garlic will need to be cured before it can be stored long-term.
Place the bulbs out of the sun but where they have great airflow. You can spread them in a single layer on a table or screen, etc. Or you can hang them. I like to place mine in a single layer in a loosely closed cardboard box.
After a couple of weeks, all the leaves will have turned brown and the bulbs will have a dry, papery covering. Dust off the extra dry dirt without removing the papery covering. Trim the roots to 1/4-1/2″ and trim the stalk. Some people like to braid the stalks without trimming them off, though this is easier with softneck varieties.
Storing garlic
If you have any heads that we damaged during harvest or have exposed cloves, set those aside to use first.
I like to store the trimmed heads in a paper lunch bag in my spice drawer. They do well for several months this way. You can also put them in a box or basket, mesh bag or stocking, or just hang if you braided yours. Keep them relatively dry so they don’t sprout.
BUT FIRST
Before you store your garlic away, remember to set aside the heads with the largest cloves to plant for next year’s harvest.
See, easy.
Leave a Reply